
Hi!
I made a Christmas card for my pops and his wife this year ☺
It took me 1 hour of me sitting there and thinking of what to do....
I just stared at my scraps of paper for hours until it came to me!
I decided to make something super basic!
As long as you have the supplies, anyone can do it :)

We're going to be learning how to make one of these babies!


Level: Easy
Resources needed:
Pencil/ Pen
Scissors
Small decorations (Beads, stickers, nail art)
Tacky Glue (Test it on your working area first!)
Glue stick
Tweezers
Construction paper (Or you can colour one in yourself!)
Card stock or a white piece of paper folded in half
Part 1: Snowflake
Step 1.

(Mind the creases, I forgot I was going to do a tutorial on this.... ha.)
The size of this square will be 0.5~1cm more than the size of the final result of your snowflake will be.
I decided for my snowflake to take up half the space. You can have it wherever you want and which ever size you want on the card!
Step 2.

Fold the square in half so it becomes a triangle
Step 3.

Folding this part is to divide the snowflake into 6 sections (when unfolded), so one side makes 3 sections.
Fold the right corner to the middle so it takes up half of it. This is a bit tricky to get at first so don't fully crease it until you're certain it'll be even.
Step 4.

Now fold the left side over and both sides should be symmetrical.
Out of my 4 times folding this part, I've made mistakes in half of them... I'm not very good at approximating.
Step 5.

Draw out how you'll like your snowflake to turn out like...
Note: Remember that this is 1 out of 6 parts of the snowflake so this cut out will be copied 6 times!
You don't have to draw it out by the way, you can just wing it if you please :)
Step 6.

Now use your scissors to snip away!!!
Step 7.

Finished product!
Step 8.

Now unleash....
Step 9.

It looks too much like a web so I decided to snip it a bit!
Step 10.

*snip snip
Step 11.

Yay!
Now that your snowflake is done, lets stick it onto the card and decorate the cover!
Part 2: Decorations!
Step 1.

Gather your goodies...
Decorations for the card, tweezers and glue!
I decided to stick to a light colour scheme, being pink and silver.
Using a gluestick, glue your snowflake where ever you wish on your card!
Step 2.

I used a pencil to dot glue on the card of where I wanted the rhinestones to be.
Tweezers were used to drop them onto the glue dots!
Easy peasy :D
Step 3.

*Dot dot
Step 4.

I used blu-tack to hold on to the little beads.
They were way too small to hold... I lost so many!!!
Once you're done with all the little decorations... You're done!!
Ta daaaaaa!
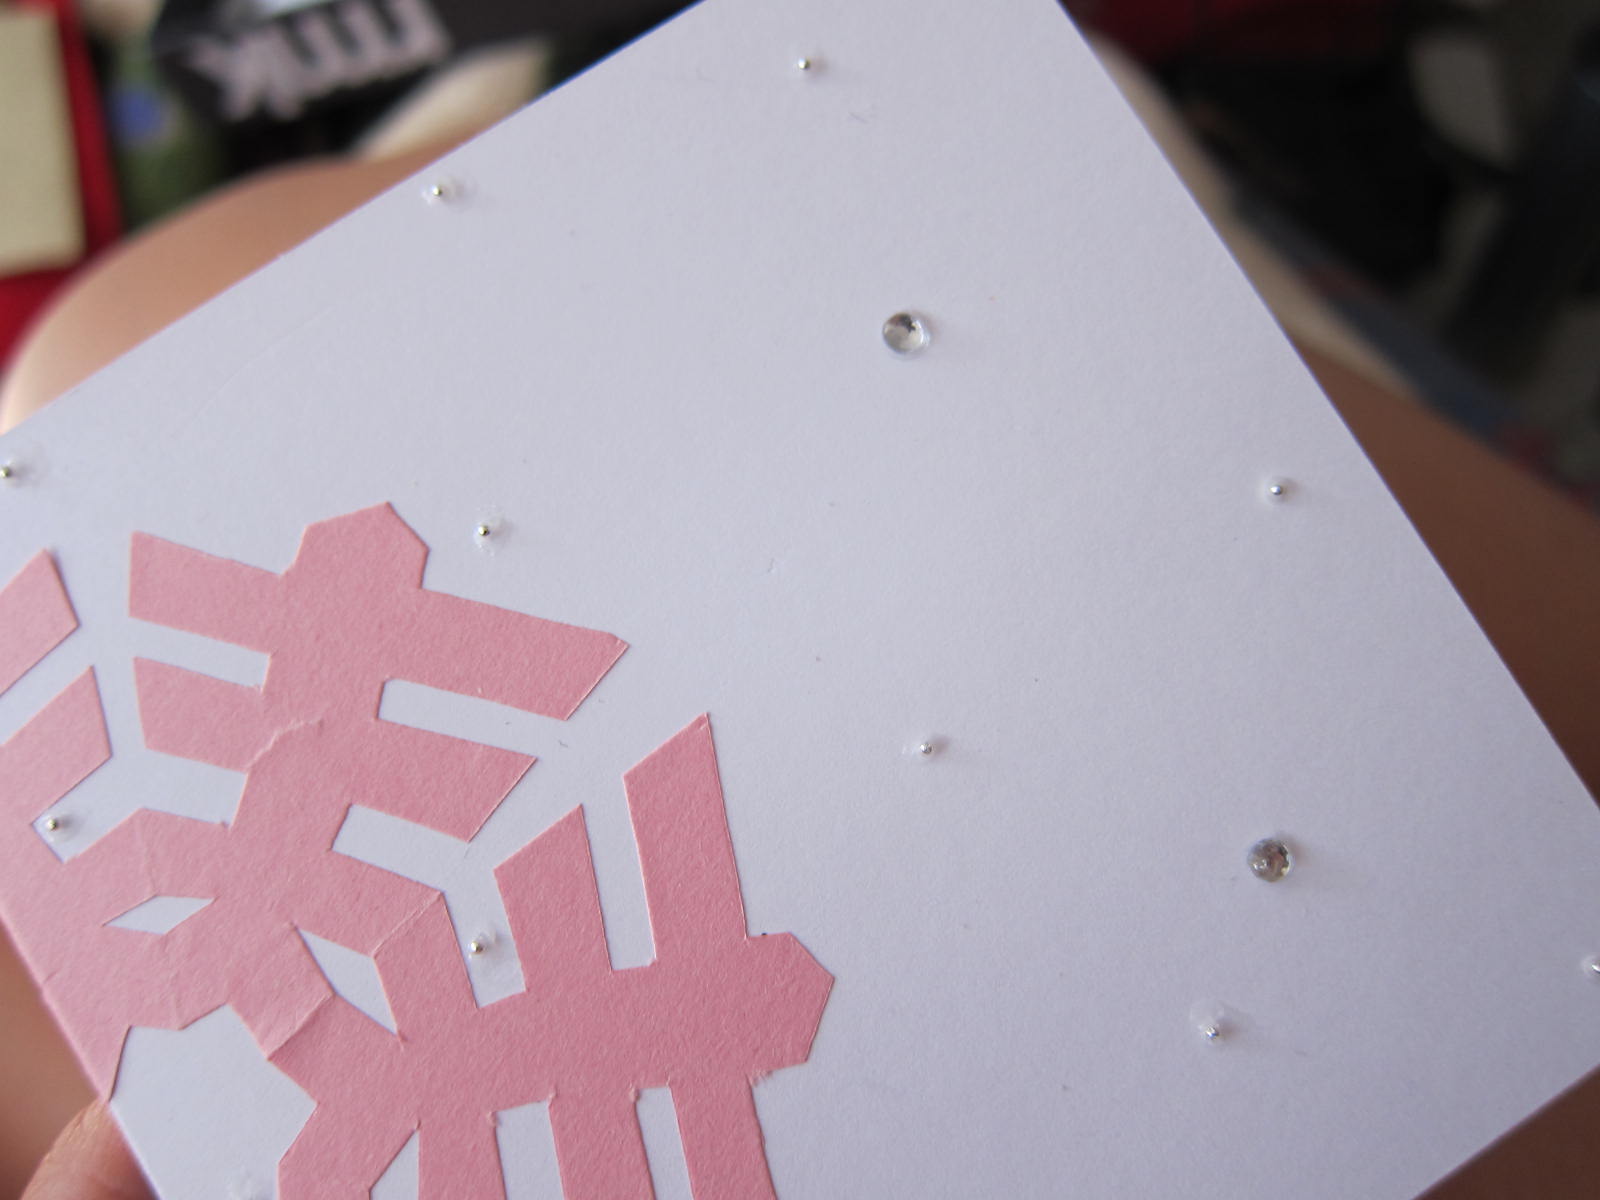
Look at em' lil silver beads!!! Cutest!

And we're finished!
Wasn't that easy :D
Yay!
No comments:
Post a Comment